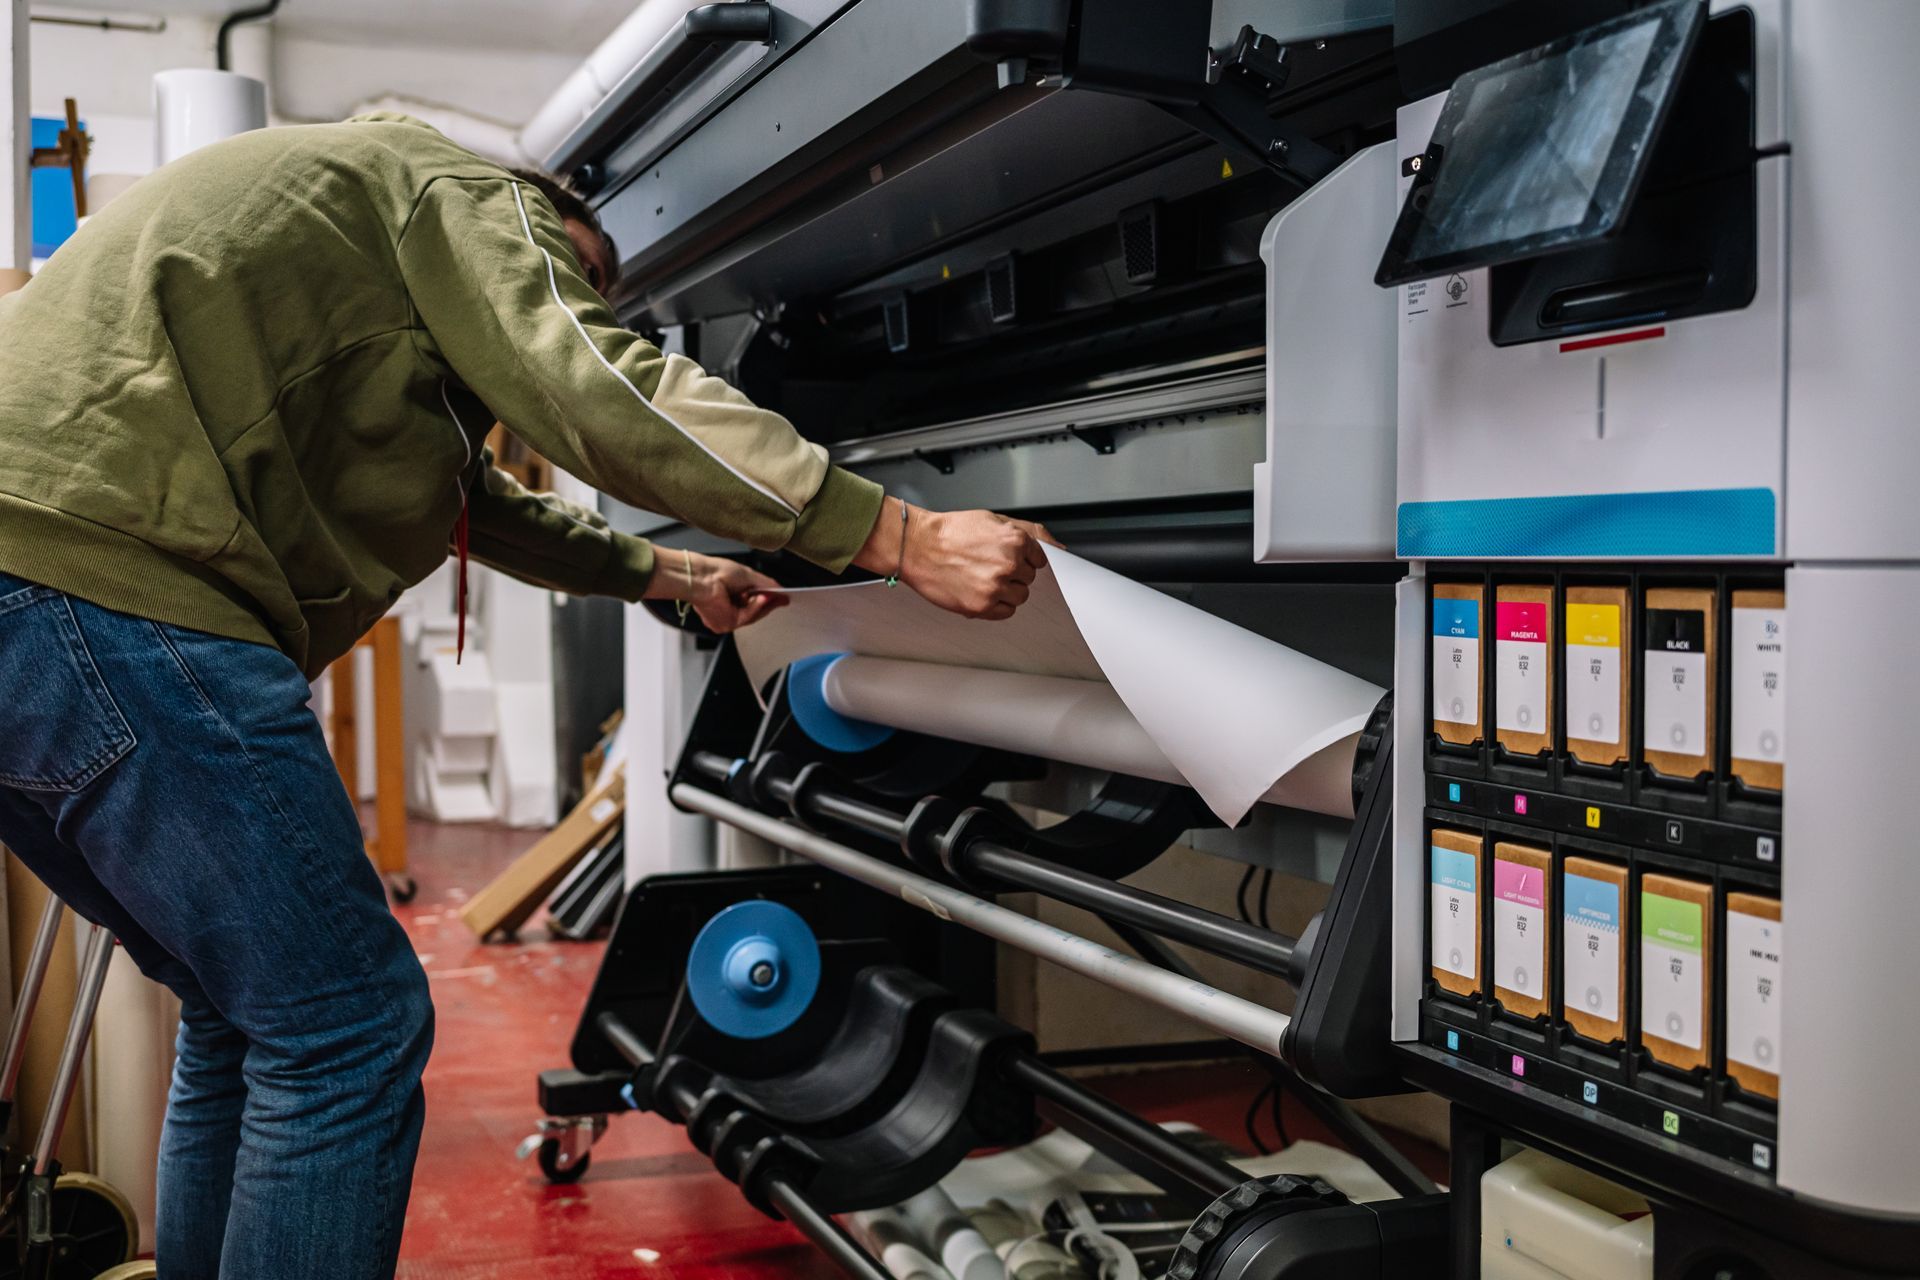
How to Identify Surface Coating Defects in Printing

18 January 2025

Share this article

Surface coating defects in printing, such as cracking, flaking, bubbling, and dewetting, can reduce product quality and durability. Identifying these issues early is crucial to saving costs and maintaining customer satisfaction. Here’s a quick summary of what you need to know:

To ensure consistent quality, combine human expertise with advanced tools like machine vision and AI-based systems. This approach minimizes errors and ensures a high standard for printed products.

Common Surface Coating Defects in Printing

Examples of Common Defects

Surface coating defects often show up in recognizable visual patterns, making them easier to spot. Catching these issues early helps maintain quality standards and avoids expensive reprints.

Cracking looks like fine lines or fractures across the printed surface. This usually happens due to thermal stress during drying or poor adhesion between the coating and the substrate [1] .

Bubbling appears as small air pockets trapped beneath the coating. These raised spots, which you can see and feel, often result from problems in the coating process or insufficient surface preparation [2] .

Flaking , also called delamination, happens when the coating peels away in small pieces. This is often caused by using incompatible materials or not preparing the surface correctly [4] .

Orange Peel Texture creates an uneven surface that looks like the dimpled skin of an orange. This effect is typically caused by improper drying, incorrect application techniques, unsuitable viscosity, or temperature fluctuations.

Dewetting shows up as small droplets or beads forming instead of a smooth coating. This happens when the surface energy of the substrate and coating don’t match, leading to poor adhesion [2] .

These defects not only affect the visual appeal but also compromise durability. Advanced machine vision systems can identify subtle variations in texture and uniformity that might go unnoticed by the human eye [1] [3] .

Spotting these issues is just the beginning. The next step is implementing the right methods to detect and address them during production.

Methods for Identifying Surface Coating Defects

Visual Inspection Techniques

Visual inspection is a key method for spotting surface coating defects in printing. This process involves using directional lighting, examining prints from different angles, and assessing gloss, texture, and color consistency. It works well for noticeable issues like smudges or uneven colors. However, its effectiveness depends on the inspector’s skill and the quality of lighting [1] . For subtle defects or high-volume production, automated systems often outperform manual inspections in accuracy and speed.

Using Automated Systems

Modern printing facilities rely on automated systems that use high-resolution cameras and AI algorithms to analyze defects consistently and objectively [3] . These systems can detect surface irregularities, measure coating thickness, and identify registration errors in real-time, achieving detection accuracy rates above 95% [3] .

Blending automated systems with human inspections provides the best results. Automated tools excel at identifying subtle or complex defects, while human inspectors bring context and can spot unusual issues not covered by pre-programmed parameters [1] .

For a balanced and thorough approach, facilities should consider:

Advanced technologies like spectroscopy and thermal imaging can further refine coating quality assessments [3] . By combining automation with human expertise, facilities can achieve reliable and efficient quality control.

Step-by-Step Guide to Identifying Defects

Step 1: Perform a Visual Check

To spot surface coating defects, start with a thorough visual inspection under proper lighting. Adjust the angle of the printed material to reveal any irregularities. Keep an eye out for issues like smudges, streaks, or uneven colors.

Tips for better visual inspection:

Step 2: Use Specialized Tools

Once you’ve completed the visual check, move on to specialized tools for a closer look. High-resolution cameras and machine vision systems can detect flaws too small for the human eye. These tools are especially effective for spotting subtle imperfections and patterns [3] .

Step 3: Analyze and Fix Issues

Review the data collected to identify trends and pinpoint root causes. Common problems, such as contamination or improper drying, can often be resolved with targeted adjustments.

Steps to address defects effectively:

Keep detailed records of defects and how they were resolved to support continuous quality improvement. Following these steps will help you maintain consistent print quality and meet customer expectations.

sbb-itb-ce53437

How Miro Printing & Graphics Inc. Handles Defects

Quality Control at Miro Printing

Miro Printing & Graphics Inc. prioritizes identifying and addressing surface coating defects to maintain top-tier results. By blending advanced technology with skilled craftsmanship, they ensure consistent quality across their projects. Automated systems play a key role, spotting even the smallest defects with precision – often surpassing human capabilities. These systems are fine-tuned to handle specific defect patterns unique to their printing processes.

Their technicians undergo thorough training in areas such as:

Why Defect-Free Printing Matters for Customers

Detecting defects early helps Miro Printing reduce reprints and maintain consistent quality. For example, during large-format printing, their quality control team can identify slight color mismatches early and make immediate corrections, ensuring smooth production.

Detailed quality control records not only improve internal processes but also enhance transparency with customers. This commitment to precision helps clients avoid delays and ensures every project meets professional standards. Miro Printing’s structured approach to defect management has made them a trusted partner for businesses seeking reliable, high-quality printing solutions.

Print Quality Inspection and Surface Defect Detection Systems

Conclusion and Final Thoughts

This section pulls together the main points on defect detection methods and tools, while also looking at what lies ahead. Modern printing operations now blend older visual inspection techniques with advanced automation to achieve impressive results. For instance, current systems boast a 97.2% accuracy rate in spotting surface defects [5] .

Key Points to Keep in Mind

Surface energy mismatches, such as those causing beading or dewetting, often lead to defects [2] . A solid understanding of these fundamental properties is critical for effective detection and prevention.

The use of automated optical inspection ( AOI ) systems has revolutionized quality control, offering benefits like:

These methods, combined with the earlier-discussed inspection strategies, ensure both precision and efficiency in defect management.

Looking forward, advancements in AI and machine vision are expected to further refine quality control. By merging human expertise with AI, future systems will be even better at detecting subtle irregularities early, thanks to ongoing improvements in deep learning [3] .

Related posts

Recent Posts

A person shows a printed sheet with the word
22 May 2025
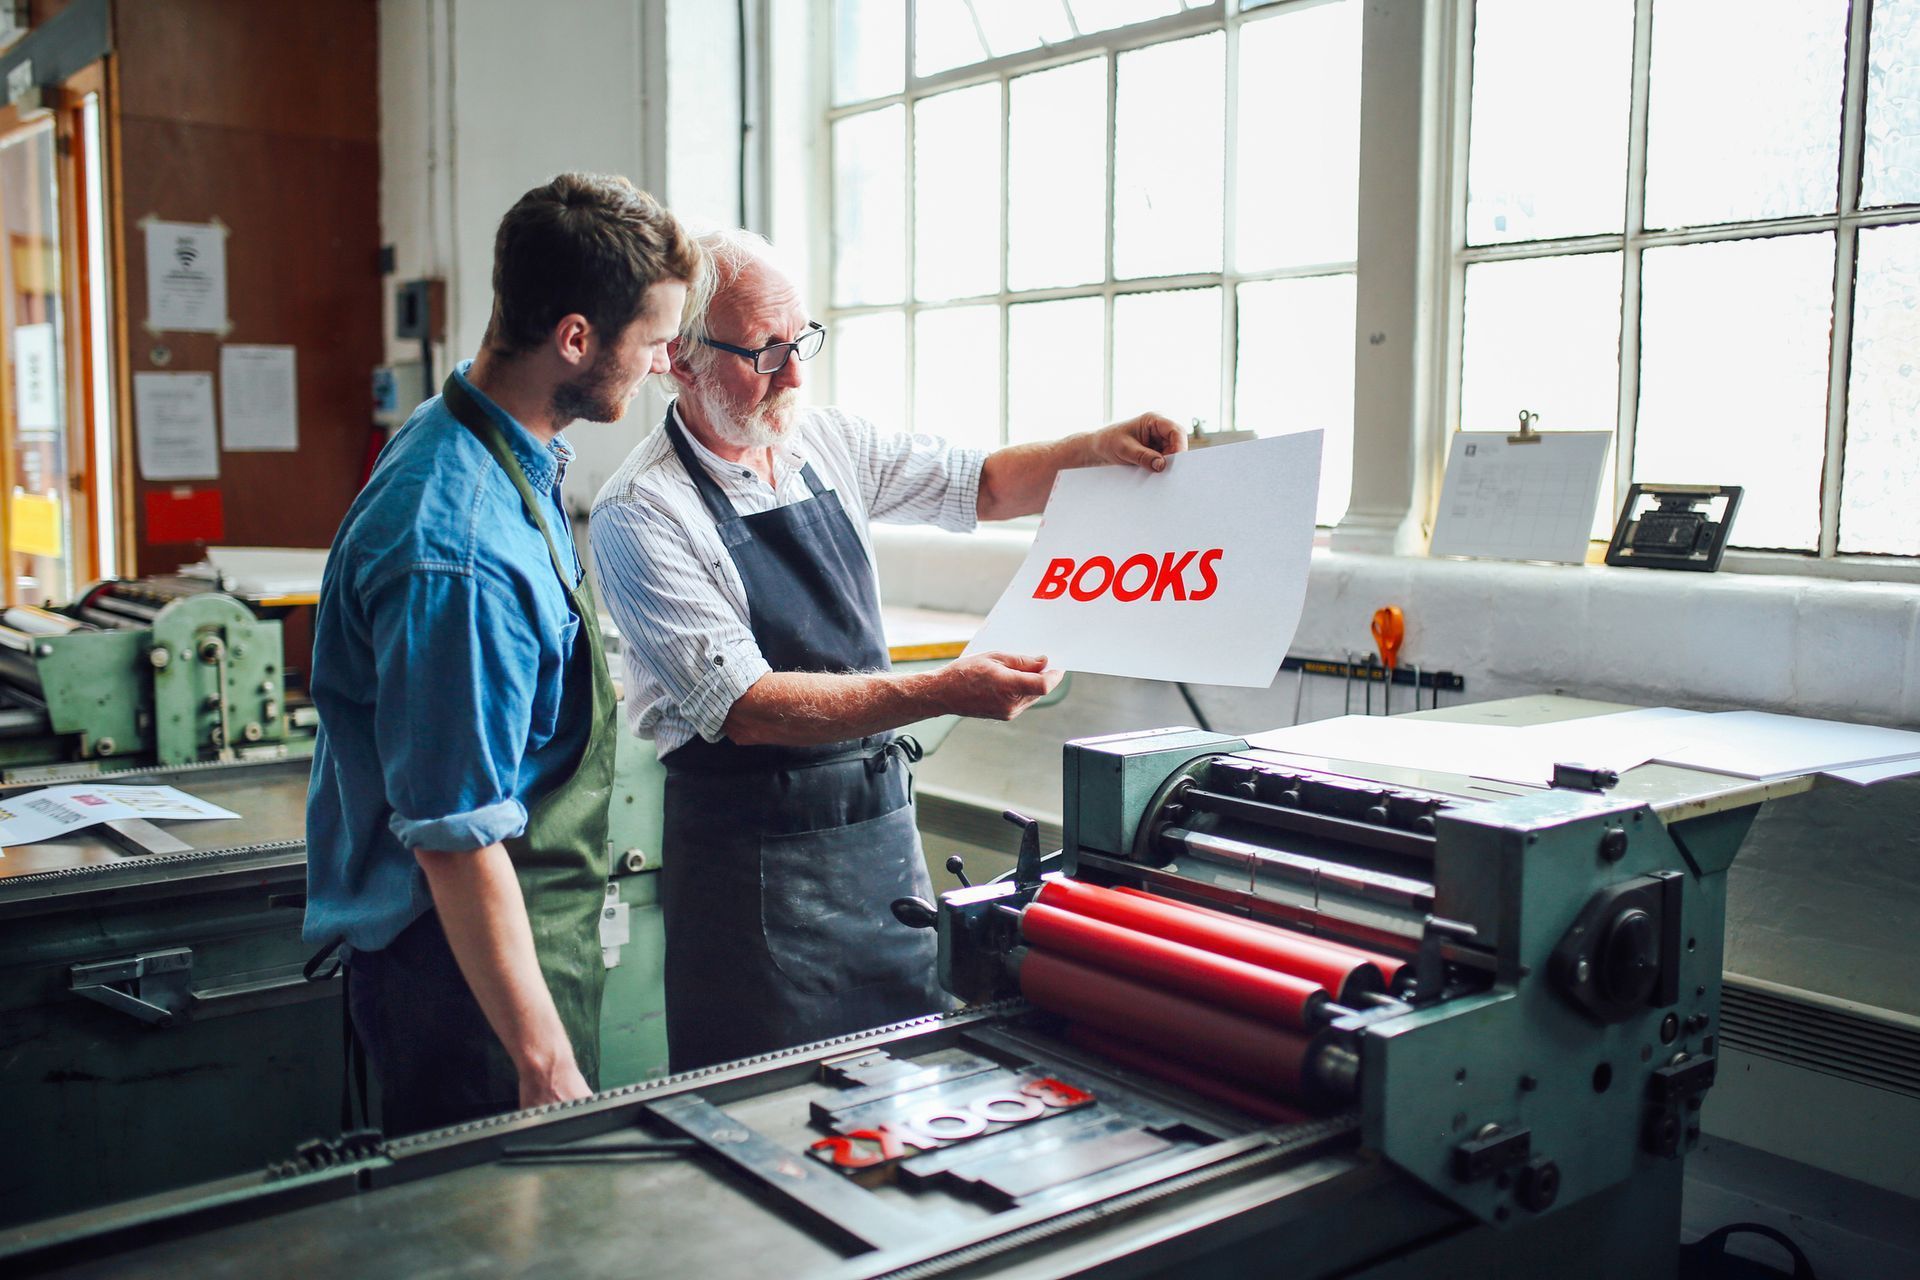
Affordable book printing in North Bergen, NJ. Let us bring your vision to life. Contact Miro Printing & Graphics, Inc. today for expert printing services.
A mechanical printer head applying a sheet of reflective gold foil onto a white surface.
19 January 2025
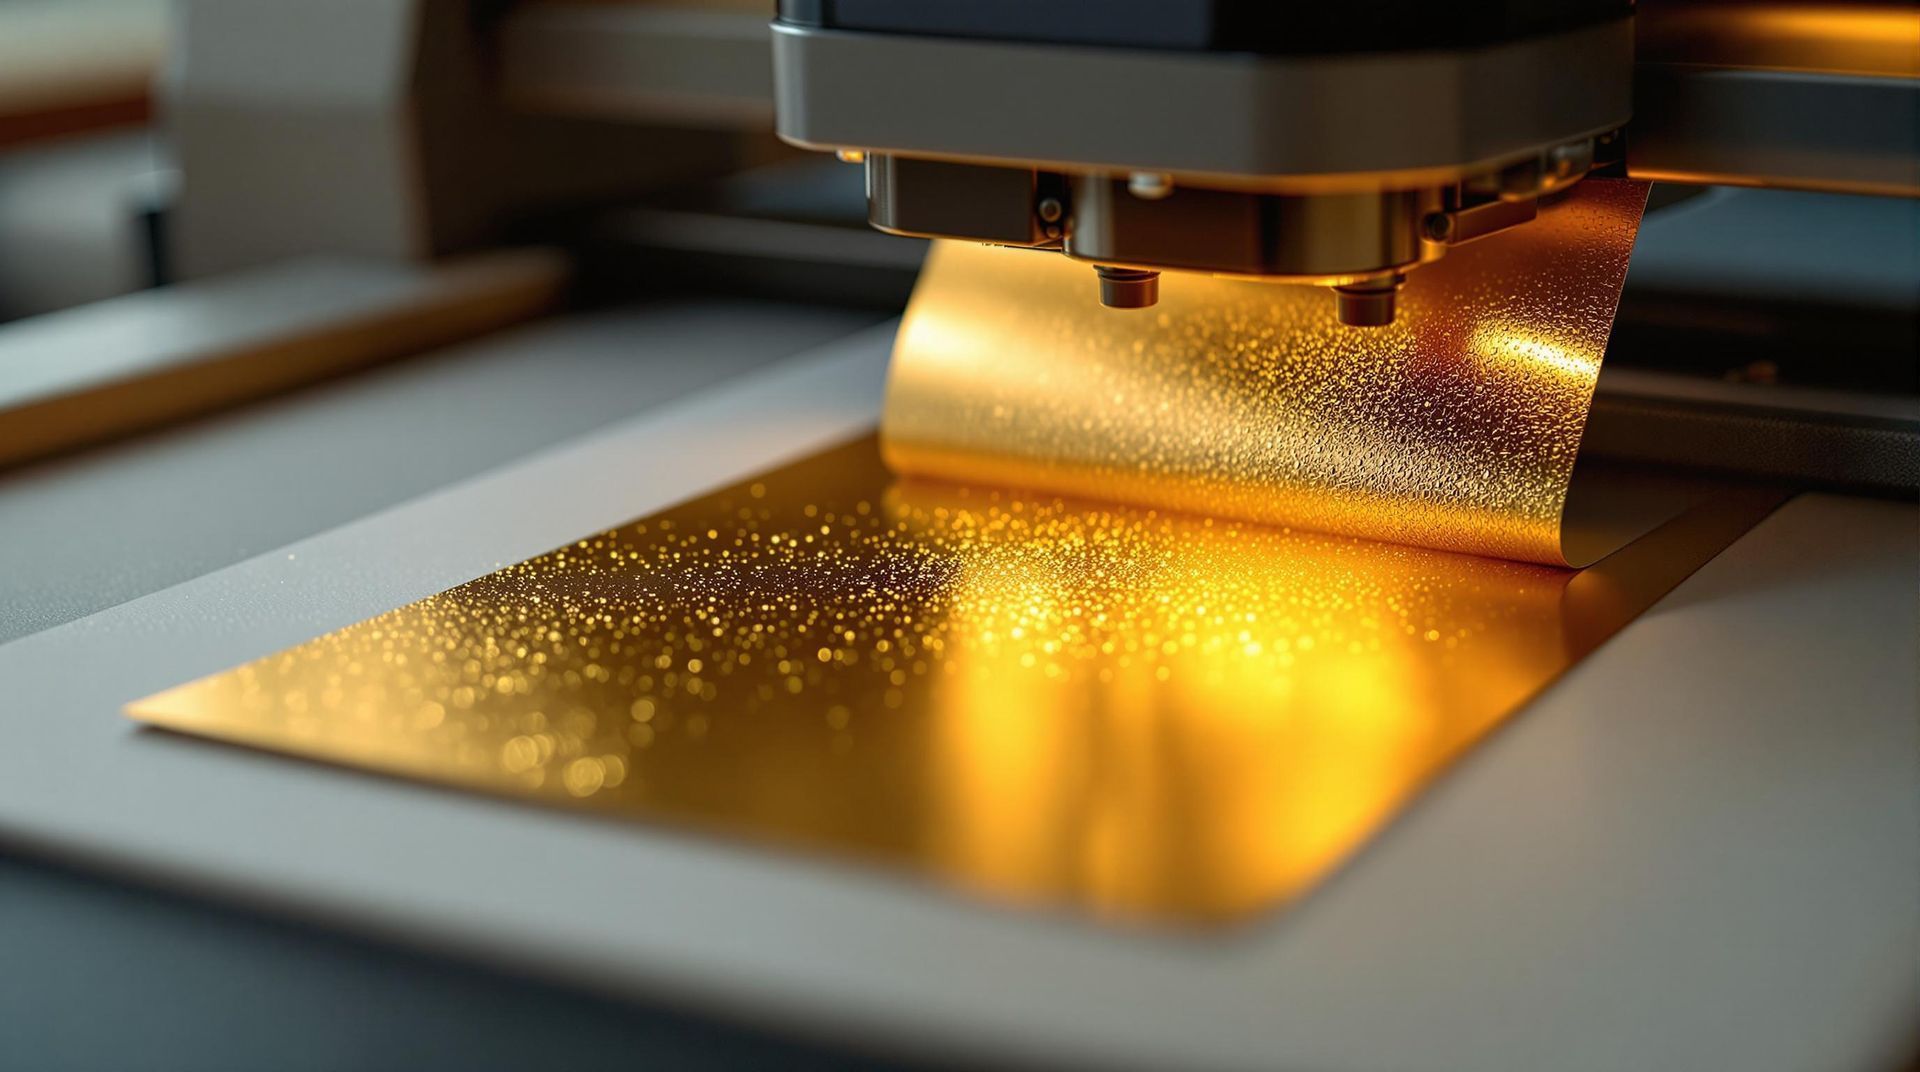
Learn the step-by-step process of foil stamping, a technique that adds elegance and shine to various materials through heat and pressure.
Two overlapping rectangular cards: one with a gold ornate damask pattern on black, the other a textured, matte cream.
19 January 2025
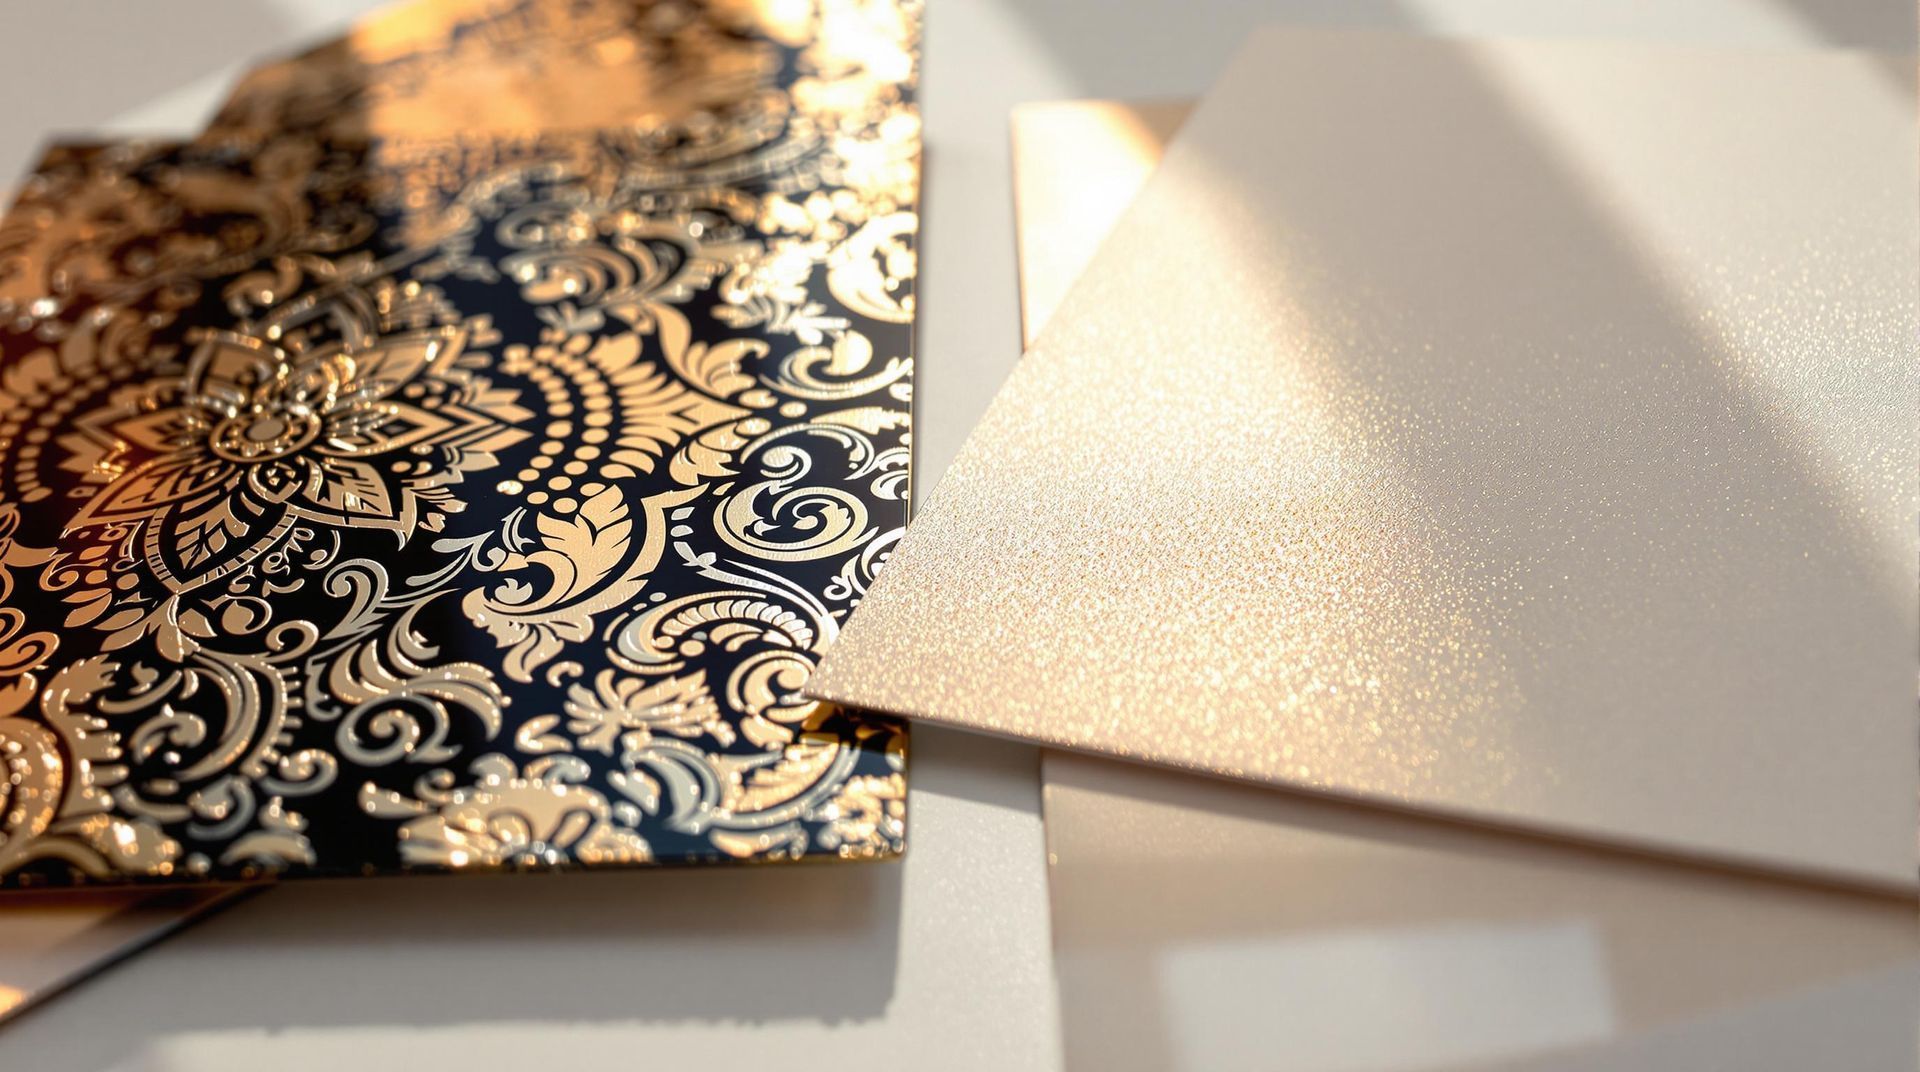
Explore the differences between foil stamping and metallic ink to choose the best metallic finish for your printing projects.
A cluttered wooden desk covered in scattered sheets of paper, stationery, a laptop, and various office supplies.
18 January 2025
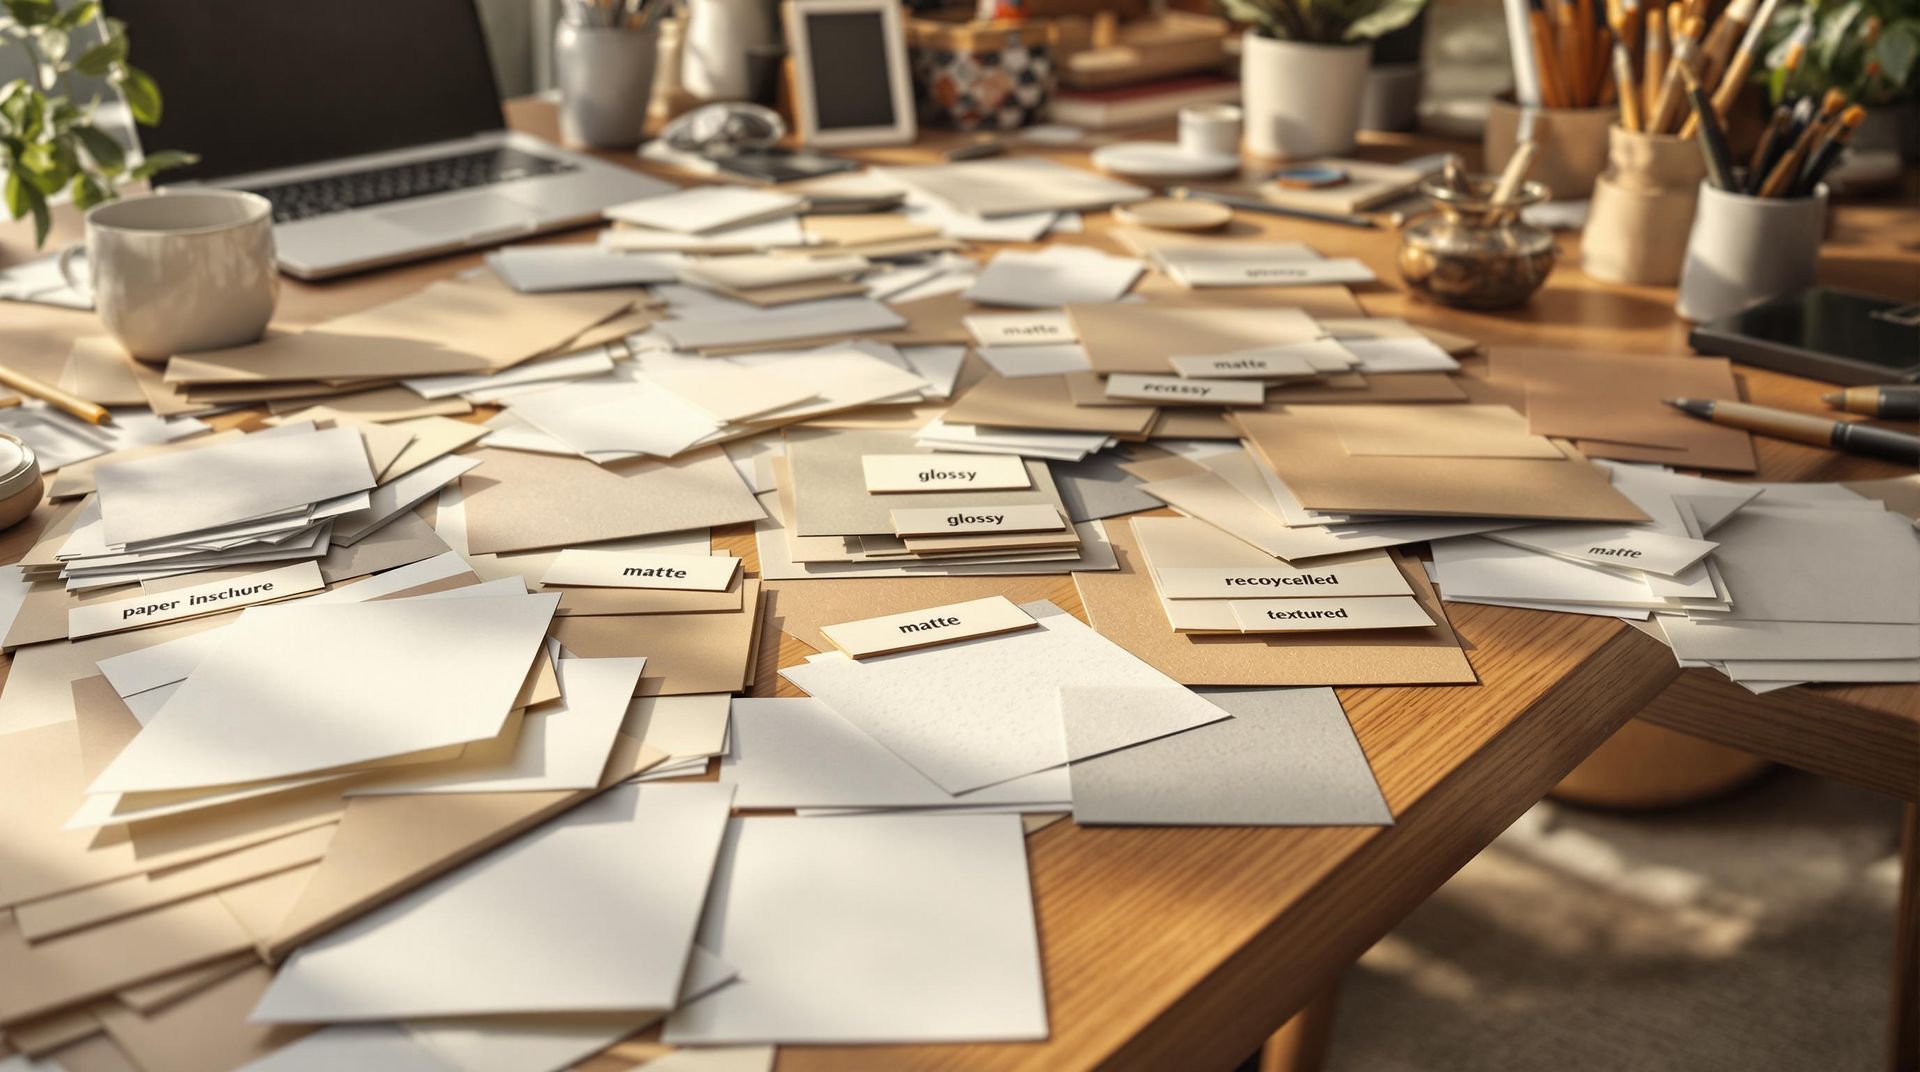
Learn how to choose the right paper for custom prints, considering types, finishes, durability, and project goals for optimal results.
A printer on a desk next to a laptop displaying colorful design samples, with scattered prints and art supplies.
18 January 2025
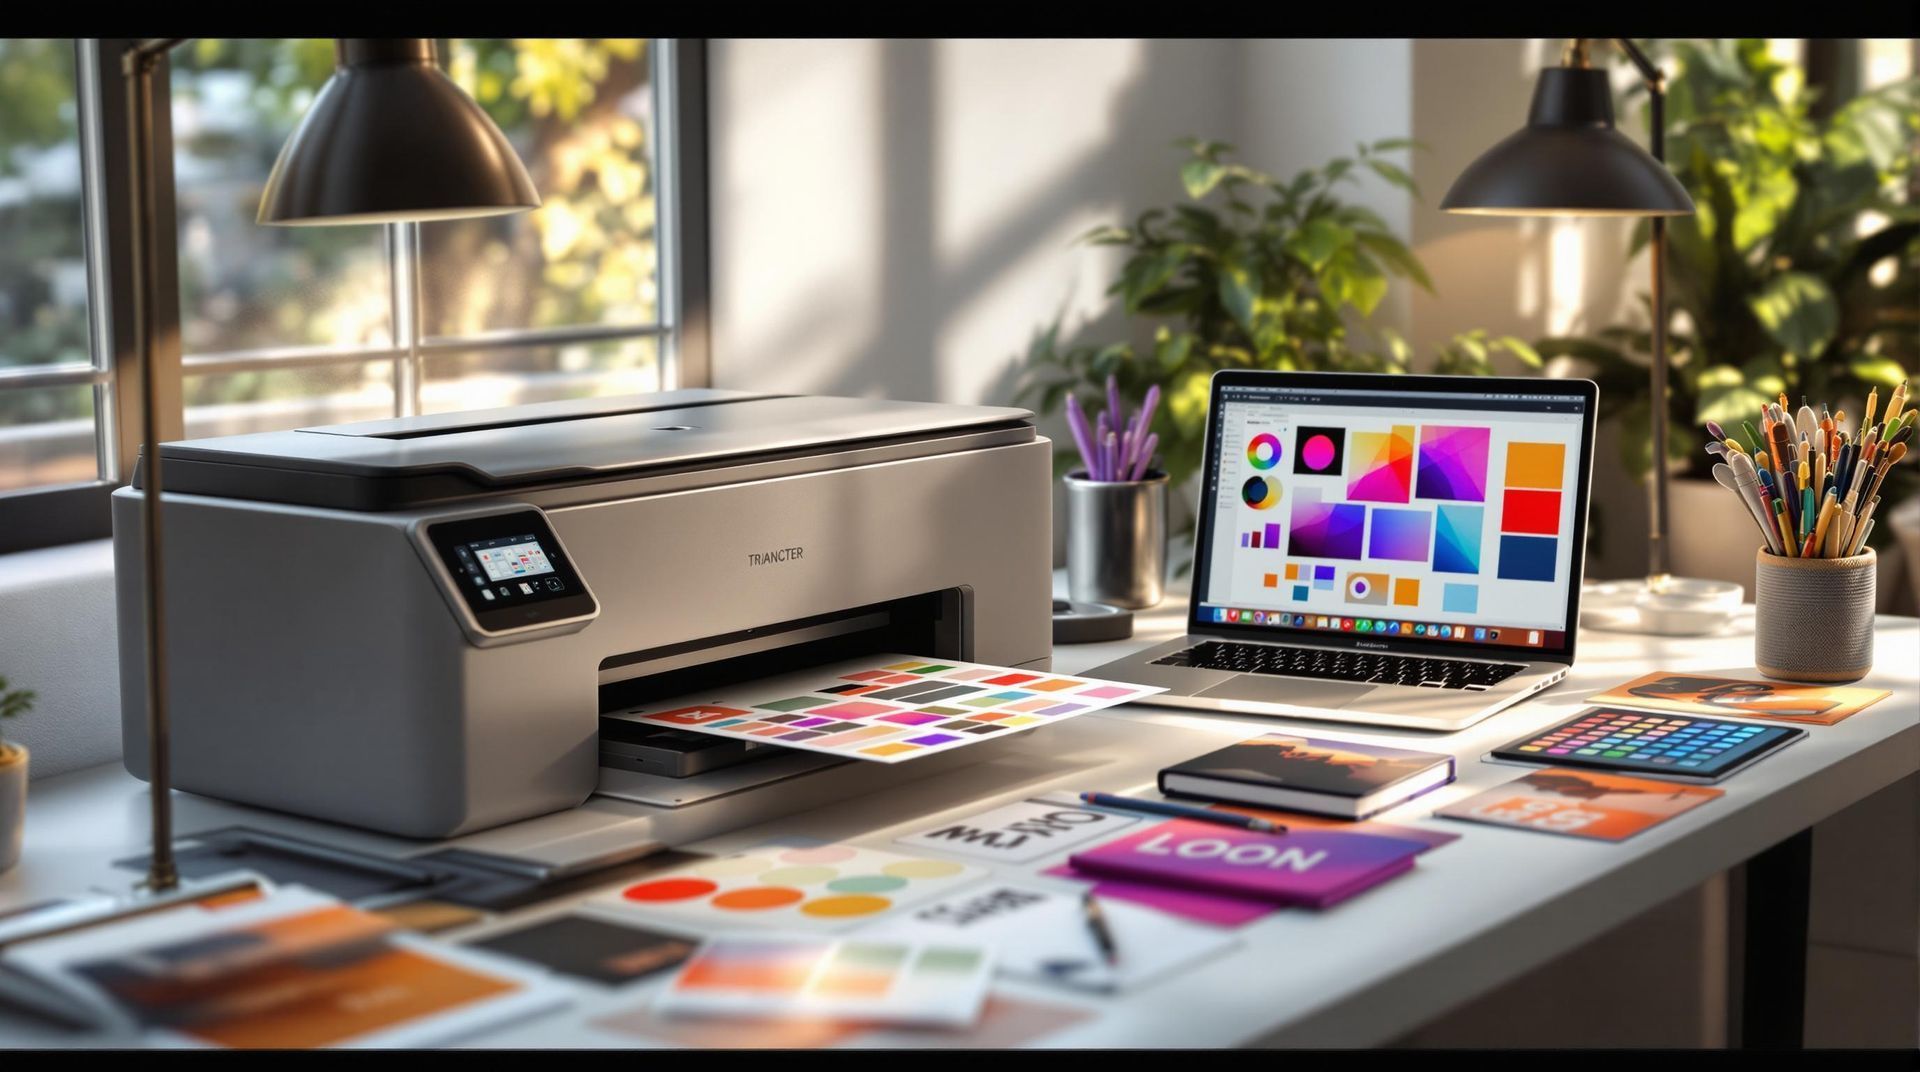
Explore personalized print design, its importance, essential components, and practical steps for creating impactful printed materials.
A person in a lab coat uses a magnifying glass to inspect a colorful print coming off an industrial printing press.
18 January 2025
Learn how to troubleshoot and prevent surface coating defects in printing for consistent, high-quality results.
A desk with a stack of white paper, a printer, and a potted plant in front of a window in a sunlit room.
17 January 2025
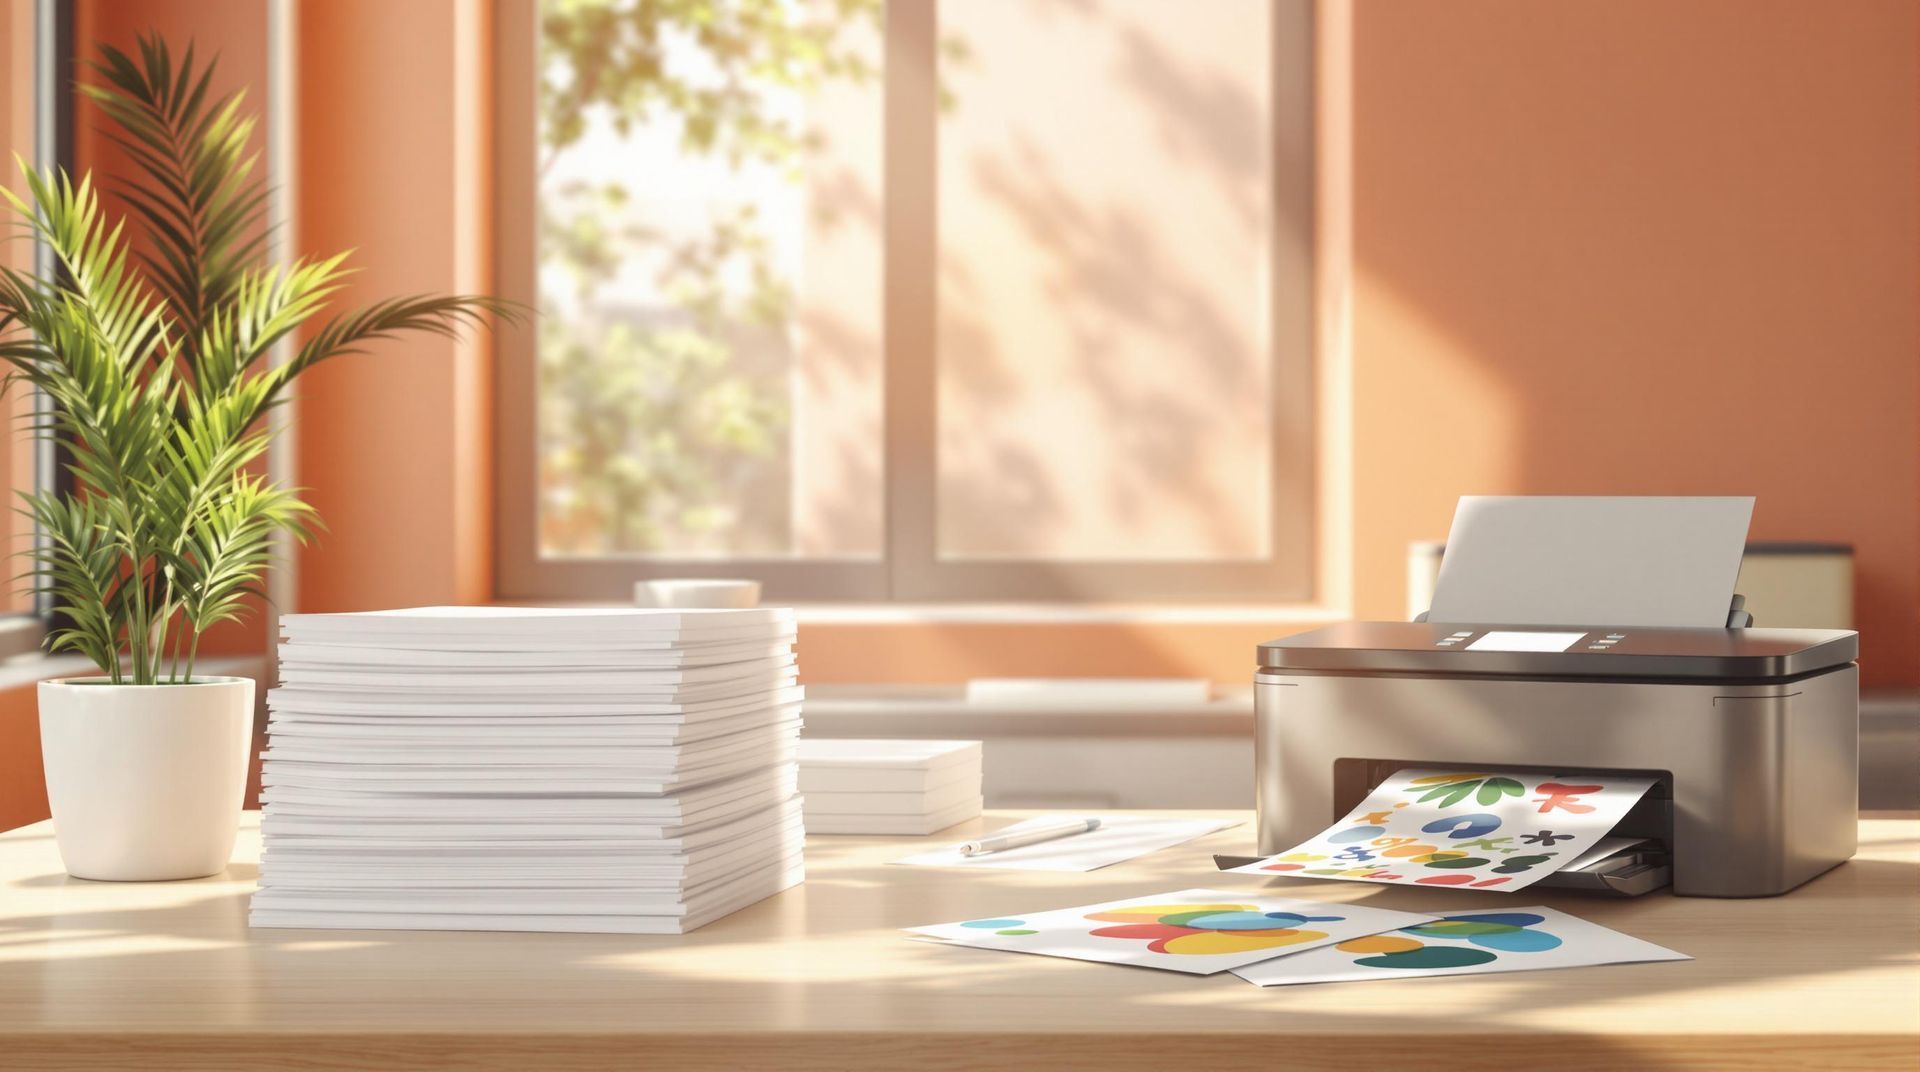
Explore practical strategies for selecting eco-friendly paper that saves costs and reduces environmental impact through smart printing choices.
A stack of brown recycled paper on the left and white paper on the right, set against a backdrop with soft leaf shadows.
17 January 2025
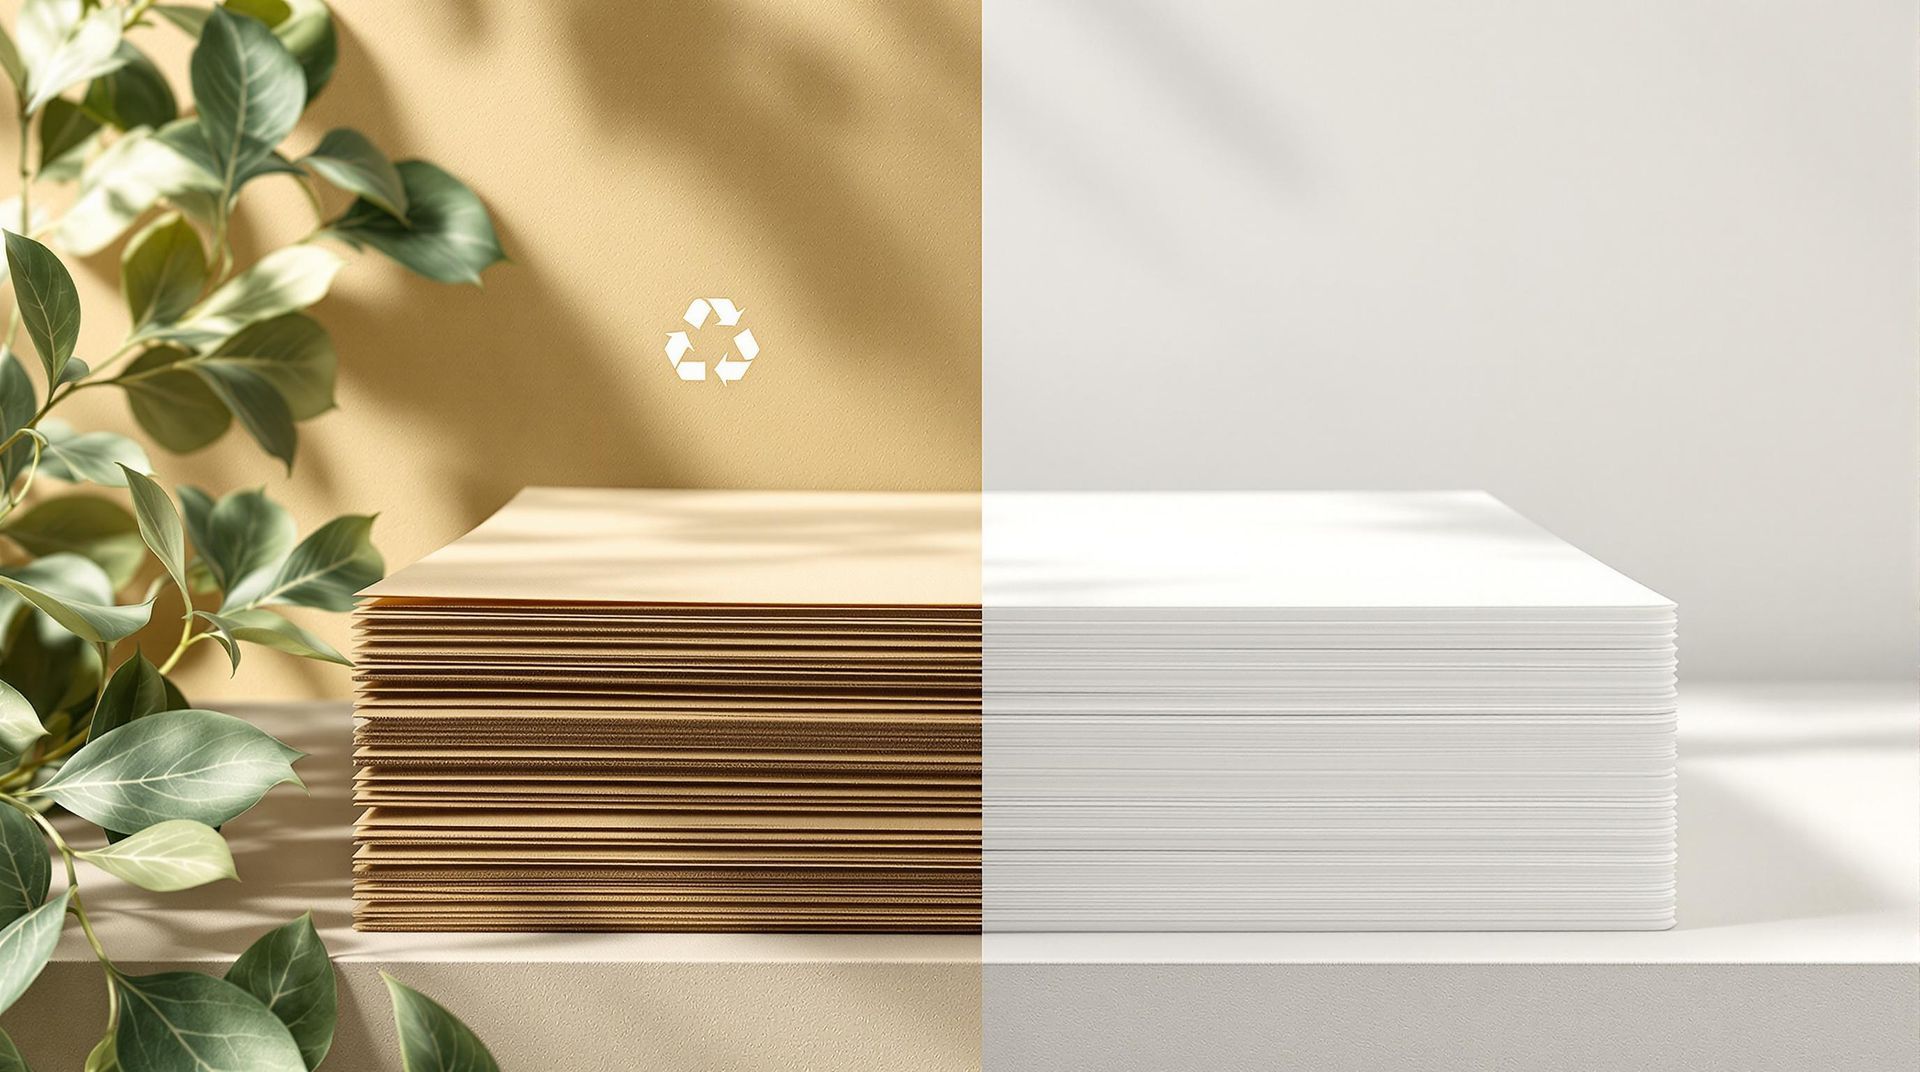
Explore the cost, energy, and environmental impacts of recycled versus virgin paper to make informed choices for your printing projects.
A Pantone color swatch book lies open on a table, displaying a grid of various shades of blue and green.
17 January 2025
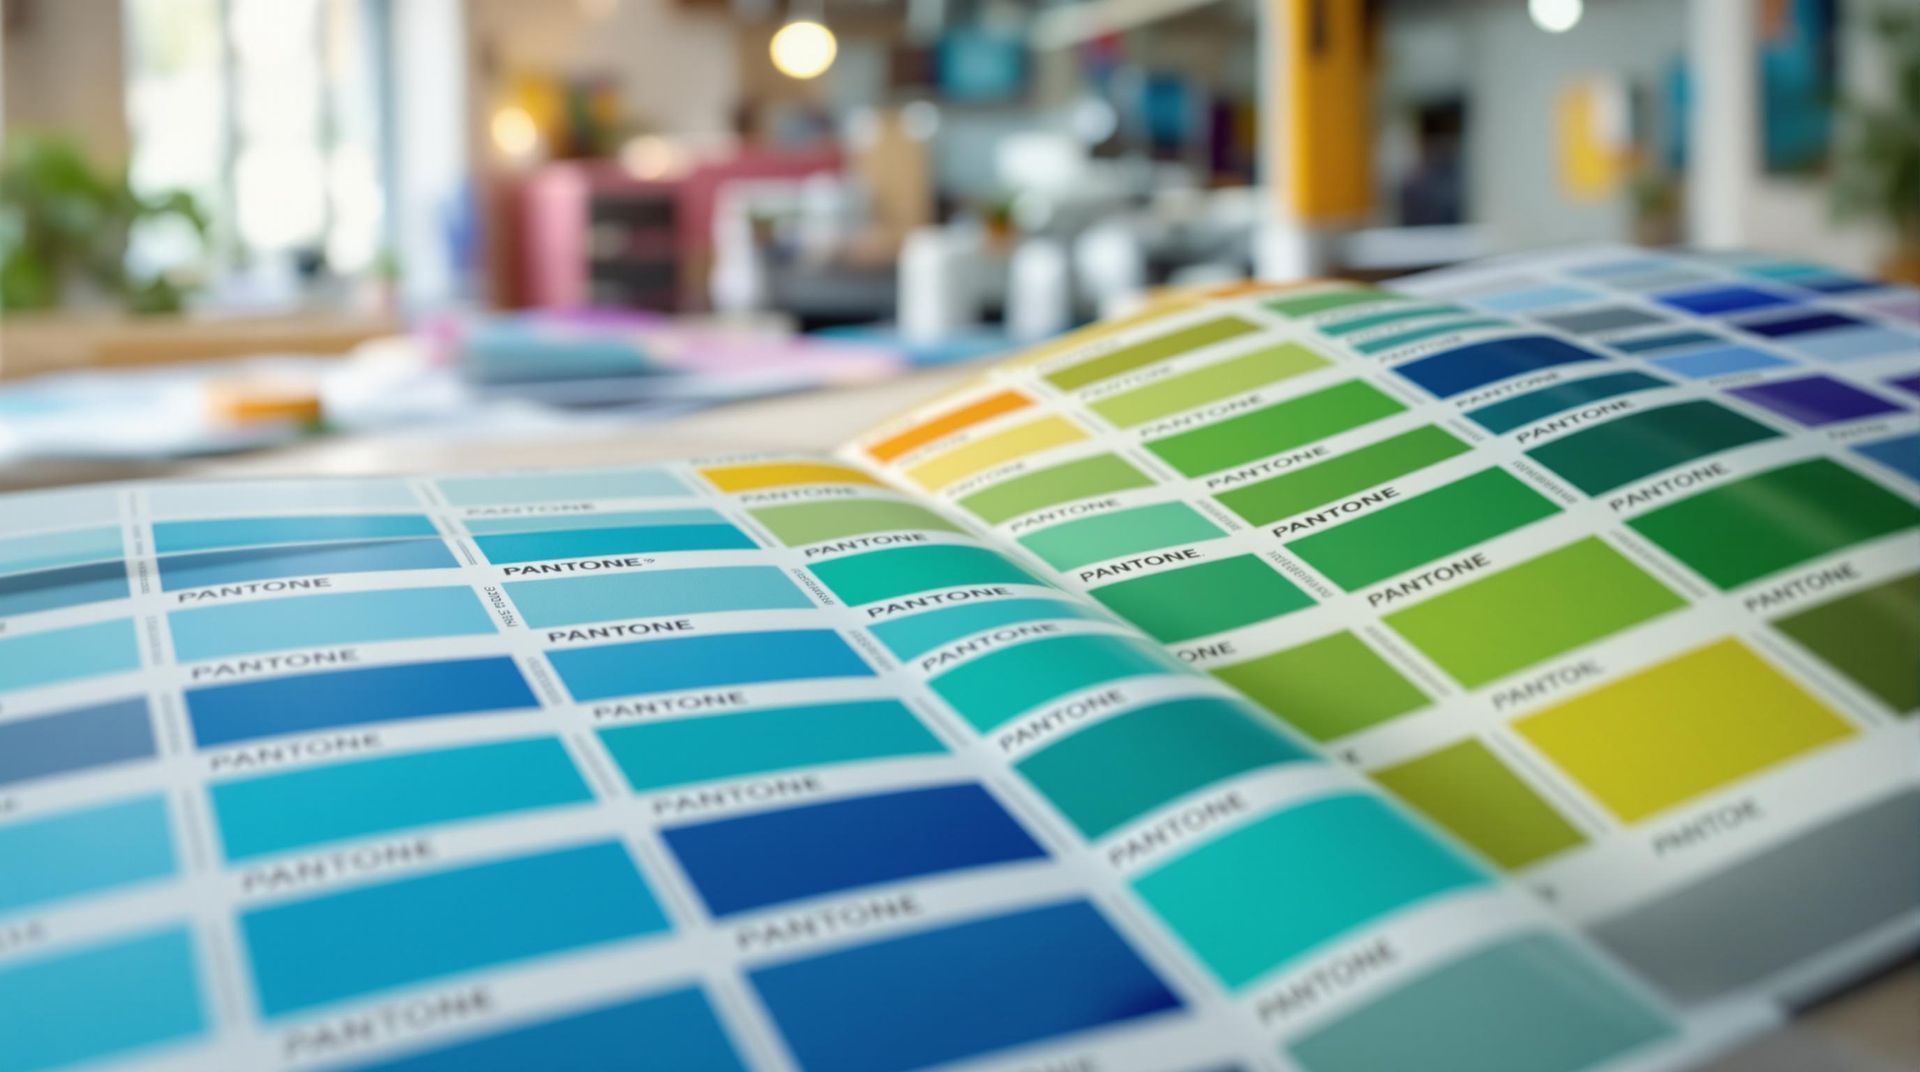
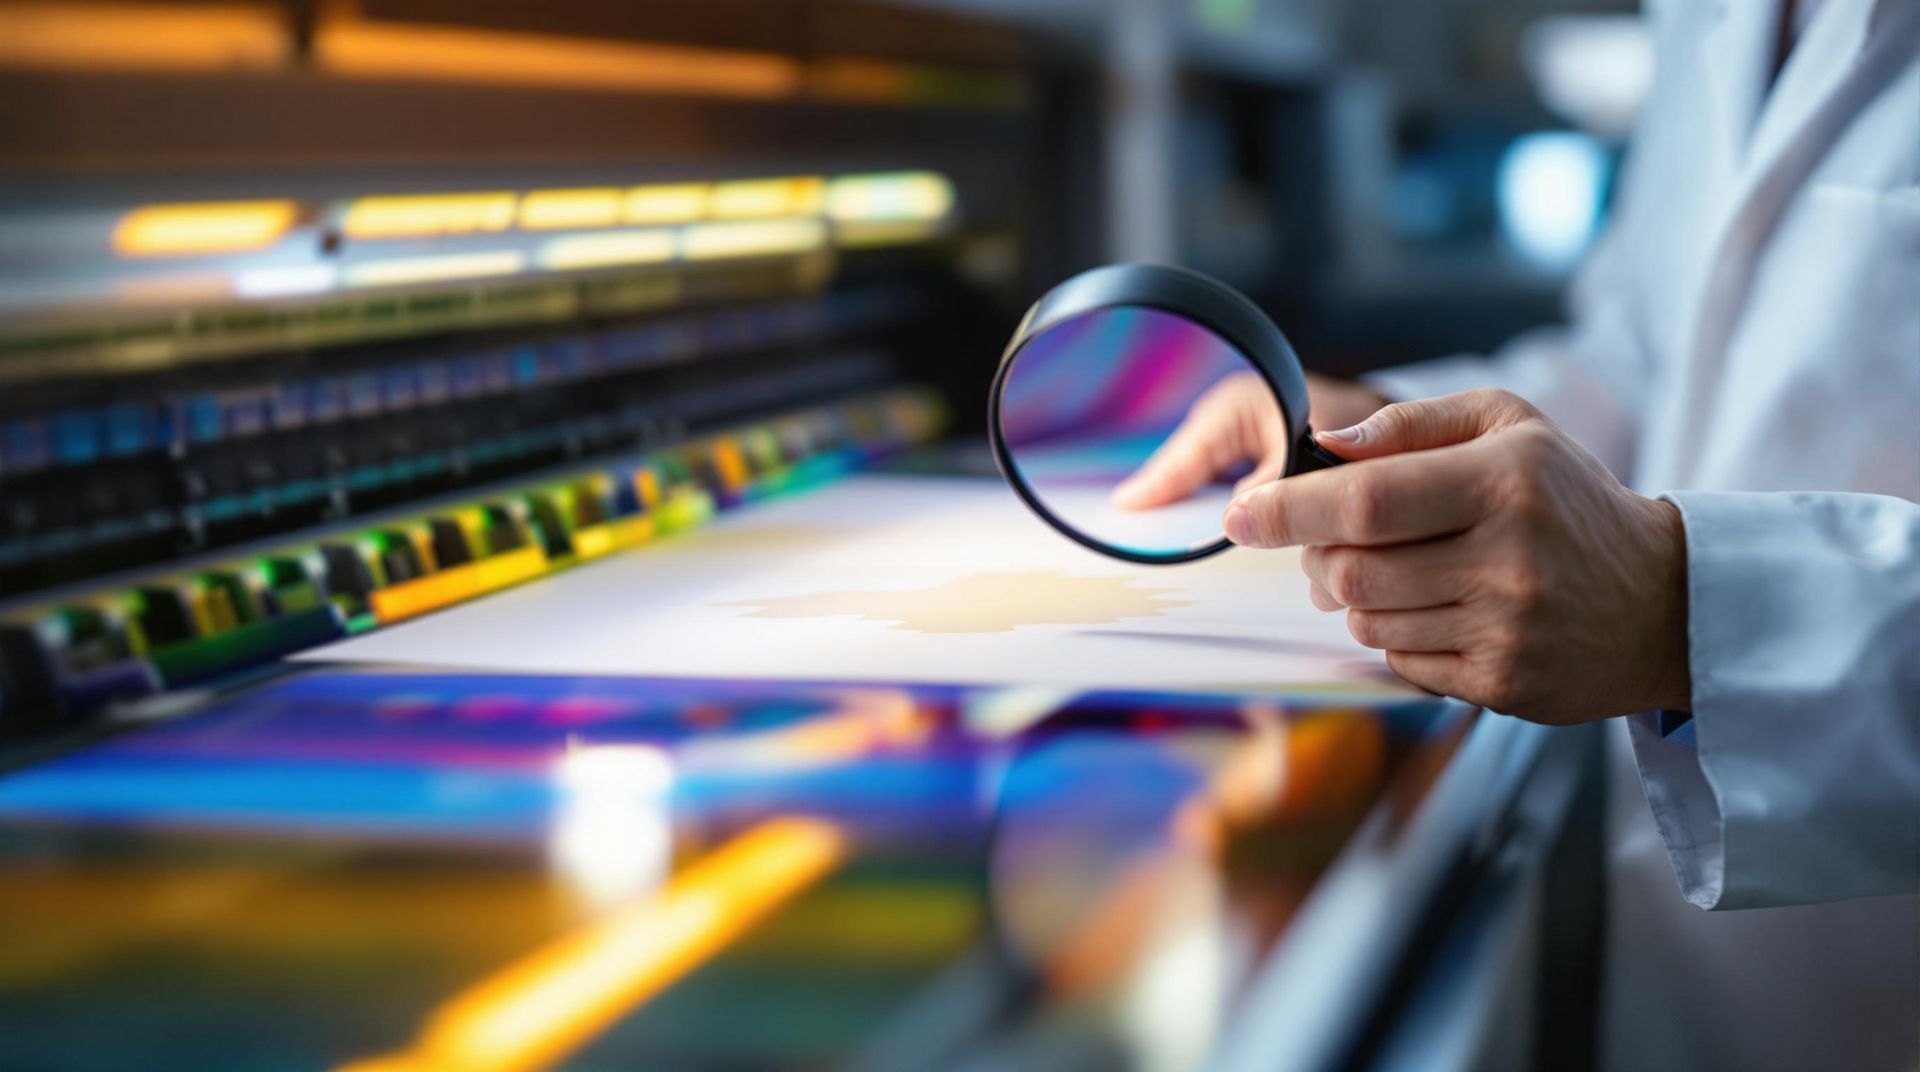
Explore the Pantone Matching System for precise color reproduction in printing, ensuring brand consistency across various materials.
A large printing press in an office, with a split-screen effect showing cool blue tones on the left and warm gold on the right.
17 January 2025
Understand the differences between RGB and CMYK color models to ensure accurate color reproduction in digital and print designs.
Show More